The technique of floating coverslips is not new, but it always leads to exciting results. The floating coverslip seems to exert a magical attraction on bacteria, protozoa and metazoa, which colonize it very quickly. I have been using this technique for many years. It is unsurpassed in simplicity and therefore quick and time-saving to perform. It is very well suited for samples with a lot of detritus, sand, rotten plants or other foreign bodies, which otherwise can only be prepared with a cleaning step.
When a coverslip is placed on the water surface, it floats there by itself due to surface tension. Even after many weeks the coverslips do not sink.
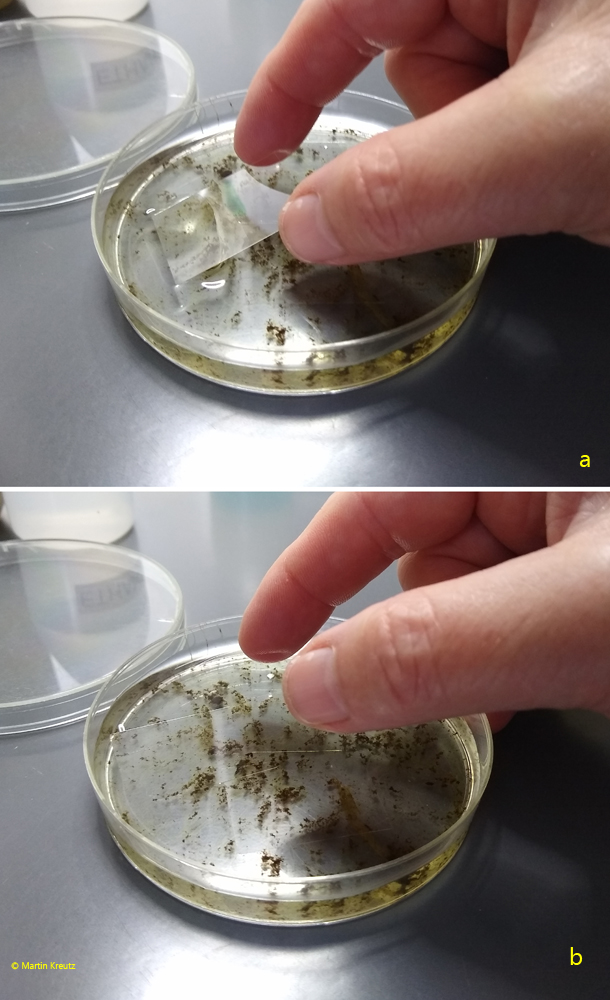
For preparation I transfer my samples into Petri dishes. One should always make sure to have enough detritus, algae or sand, because interesting organisms hide in them. Then I place the coverslips by hand (s. fig. 1 a-b). The coverslip is guided at an angle to the surface. As soon as it touches the surface, it can be dropped. It then floats up flat.
Fig. 1 a-b: Preparation of a floating coverslip. The coverslip is guided at an angle to the surface (a). As soon as it touches the surface, it can be dropped. It then floats up flat (b).
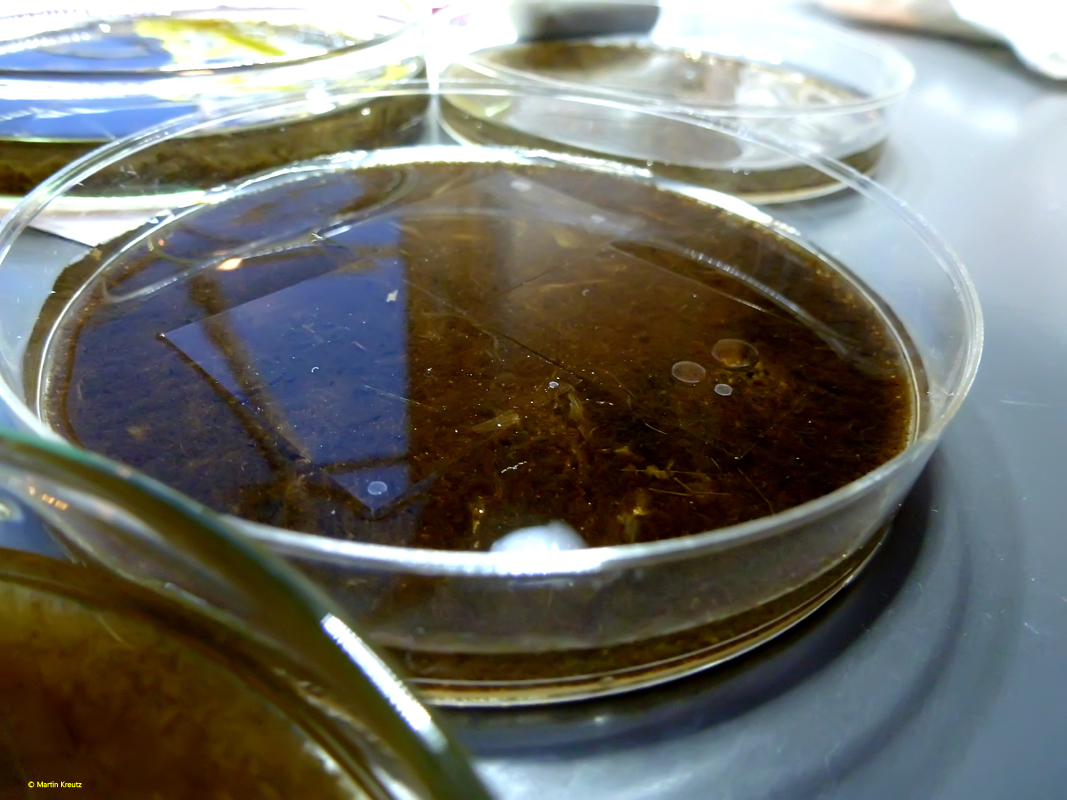
Since I use exclusively 32 X 24 mm coverslips , just three coverslips fit on the water surface in a Petri dish (s. figs. 2 and 3).
Fig. 2: Three floating coverslip on a sample with detritus.
Fig. 3: Three floating coverslip on a sample decomposing pieces of plants.
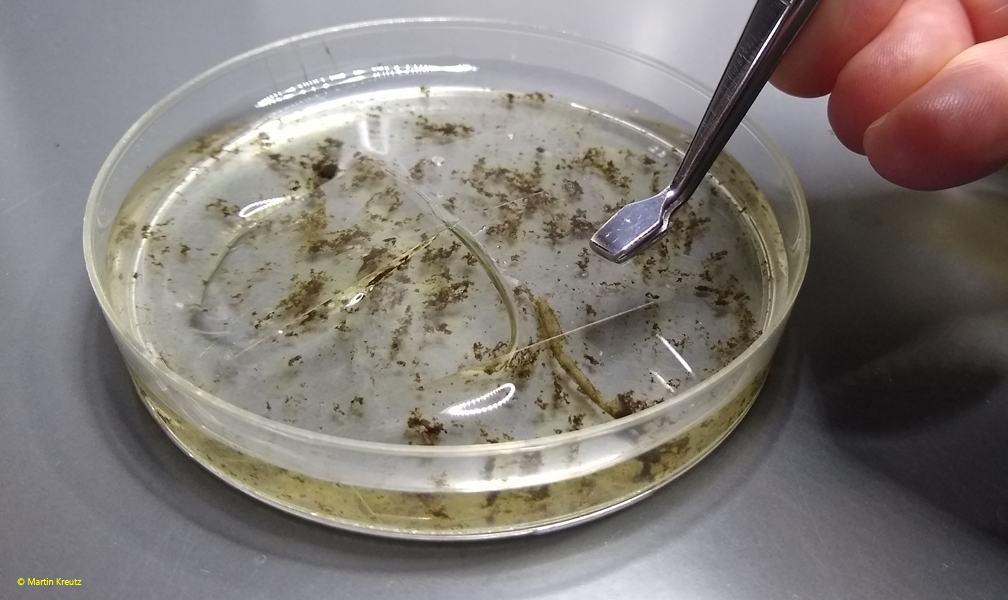
After 2–7 days I remove the coverslips with a stamp tweezer. This kind of tweezers are angled and make it easier to remove them from the surface (s. fig. 4).
Fig. 4: Removal of a floating coverslip from the water surface with a stamp tweezer.
Then I carefully place them on a slide, free of bubbles if possible. With heavily overgrown coverslips, bubble-free placement is often not possible. However, placing a drop of water from the Petri dish on the slide and then placing the coverslip on top of this drop will prevent bubble formation in most cases.
After placing the overgrown coverslip on the slide, there will be a thick layer of water. However, one should avoid drawing off the water with a filter paper and instead reduce the layer thickness by normal evaporation, which takes about 20 – 30 min. By this approach, no interesting non-sessile objects will be extracted and the organisms will not be stressed by a sudden reduction in layer thickness. Once a satisfactory layer thickness is achieved, very detailed observation is possible, as many interesting objects have settled directly on the coverslip (i.e., facing the objective) or are swimming or gliding along it.